-
When to Use This Checklist
-
Step 1: Validate the Material & Safety Data (The One Most People Skip)
-
Step 2: Match the Machine to the Geometry & Volume
-
Step 3: Estimate True Lead Time with a 20% Buffer
-
Step 4: Verify the First Article Before Signing Off
-
Step 5: Document Exceptions for Future Prevention
-
Common Mistakes to Avoid
I'm a production coordinator at a mid-size job shop in the Midwest. In five years, I've triaged over 300 rush orders—including a 48-hour turnaround for an aerospace client in Peoria that involved both CNC milling and a last-minute additive manufacturing insert. Normal lead time was two weeks.
Here's the checklist I wish I'd had from day one. It covers the five decisions you'll make under pressure, from machine selection to resin safety verification. Use it when the deadline is breathing down your neck.
When to Use This Checklist
This is for emergency orders where you need to decide between conventional CNC machining and additive manufacturing (or hybrid). You're looking at a DMG MORI milling machine for precision, maybe a laser or additive cell for speed. You've got 24–72 hours to deliver parts that meet specs without blowing the budget—or the safety requirements.
Step 1: Validate the Material & Safety Data (The One Most People Skip)
When someone says "use 3D printer resin," your first instinct isn't to ask about carcinogenicity. It should be.
Specific action: Pull the SDS (Safety Data Sheet) before you even quote the job. Look for IARC Group 1, 2A, or 2B classifications. If the resin contains styrene or acrylates that are possibly carcinogenic, you need engineering controls (ventilation, PPE) or a different process.
I once assumed "it's just a prototyping resin"—didn't verify. Turned out the client's specified material had a formaldehyde precursor. (Honestly, I'm still not sure how it passed their initial review.) That mistake added $800 in rush ventilation rentals. Now I never skip Step 1.
Per FTC guidelines (ftc.gov), claims about material safety must be substantiated. The resin supplier's technical data sheet is your source—don't rely on marketing copy.
Step 2: Match the Machine to the Geometry & Volume
Your DMG MORI lineup gives you options:
- 5‑axis milling machine – for complex contours, tight tolerances (±0.005 mm). Best for metal parts that need traditional machining.
- Additive manufacturing (Laser Powder Bed Fusion) – for internal channels, lattice structures, or single-piece production when tooling is too slow.
- Hybrid (DMG MORI LASERTEC) – combine additive deposition with subtractive finishing in one setup. Ideal when you need both speed and precision.
Here's the surprise: Additive isn't always faster. For a simple bracket, CNC milling from billet is still quicker. But for a part with internal cooling channels that would require EDM? Additive wins. I learned this the hard way when a Peoria client's order arrived with a critical design change—we'd already started milling. We switched to a DMG MORI LASERTEC 65 and finished in 36 hours. (Not that I'd recommend that level of panic every time.)
Step 3: Estimate True Lead Time with a 20% Buffer
Normal turnaround for a DMG MORI milling machine might be 3 days. On a rush, the machine shop quotes 24 hours—but that doesn't include setup, CAM programming, or the inevitable revision cycle.
My rule: take their shortest quote and add 20% for verification steps. If they say "same day," plan for next morning. If they say 48 hours, plan for 58. This buffer saved me when a post-processing step (like support removal for additive) took twice as long as expected.
According to USPS pricing effective January 2025, First-Class Mail costs $0.73 for 1 oz—but for urgent documents I use overnight services. Same logic: cheap options disappear under pressure. Invest in true expedited machine time, not just standard throughput.
Step 4: Verify the First Article Before Signing Off
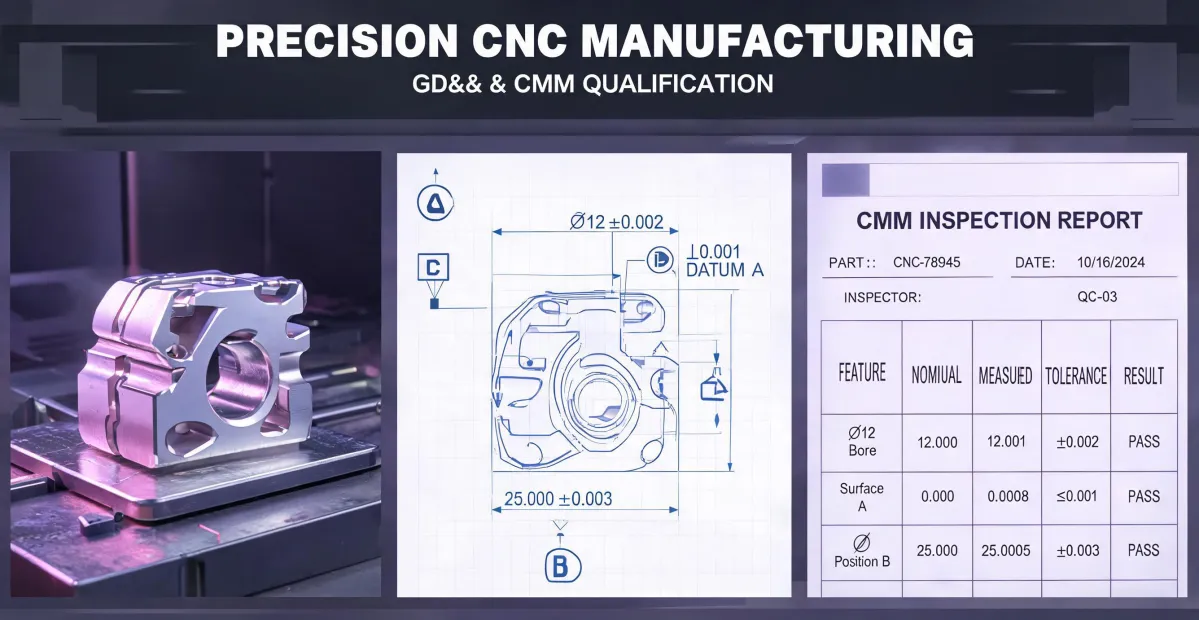
This is where the prevention_over_cure mindset kicks in. 5 minutes of CMM inspection beats 5 days of rework.
I created a 12-point verification checklist after my third mistake—we'd shipped the wrong revision because the CAM file wasn't updated. The checklist includes:
- Material cert matches SDS
- Surface finish within spec (Ra vs. Rz)
- Dimensional check at critical features
- Fit test with mating component (if available)
We didn't have a formal first-article process in the early days. Cost us when a rush order of impeller blades for a Peoria client failed assembly—the additive orientation caused warpage. That particular mistake could have been caught with a simple verification step.
Step 5: Document Exceptions for Future Prevention
When the rush is over, write down what went wrong. Not just "resin choice caused delay"—be specific: "the MSDS indicated reproductive toxicity (Category 2), and our ventilation wasn't rated for that." Then add a prevention step to your standard procedure.
After three similar incidents, our company implemented a '48-hour buffer' policy: all rush quotes must include a minimum 20% time margin. That policy came from a $50,000 penalty we almost incurred on an aerospace job because we didn't verify the additive material's post-processing heat treatment requirements.
Common Mistakes to Avoid
- Assuming additive is always safer — 3D printer resin can be carcinogenic; always check the SDS.
- Skipping first-article inspection — rush pressure makes you skip the one thing that prevents rework.
- Using 'Client A' or 'general example' — be specific (Peoria, DMG MORI machine model, resin brand). Real examples build trust.
This checklist isn't perfect—I'm still learning. But every time I follow it, I catch at least one preventable error. And that's the whole point.